Hi all, this is Wenjun writing here. Below is a photo that we showcased last Thursday over the Photoshop Workshop sponsored by Adobe. We learned about many different selection tools as well as different ways to use the masking tool. Combined with some options such as Gaussian Blur and Motion Blur from the “Filter” tab, we successfully gave a plain, ordinary lake photo some otherworldly touch. I personally use many of these features in Photoshop introduced in this workshop, and I hope this photo here can make you try some edits of your own. Now let us dive straight into the details.

Setting up Photoshop Document
First thing first, we will need to open a background image using Photoshop. After that, we will insert the replacement layer into Photoshop. Simply drag the replacement image into the Photoshop window. It should look like this.
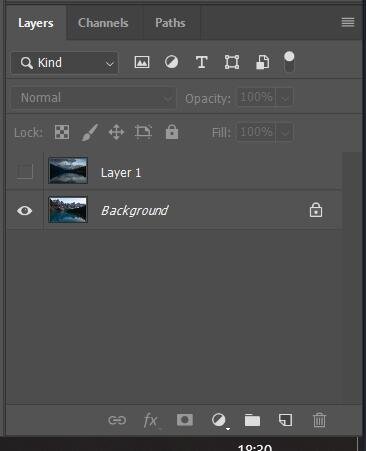
Note the eye icon on the left of your board. This controls the visibility of each layer. It can greatly facilitate our editing process.
Do pay attention to the “Layer” tab on your right hand side. This is very important throughout the entire showcase. Layers will allow us to work on different images independently without affecting other ones. Imagine it as the decorations that you put onto the tri-fold poster boards for the science fair - we can edit different sections of the boards independently instead of having to reprint the entire board like a real poster or pamphlet. Your “Layer” tab should look like this above.
Now we select the Layer 1, the replacement photo that we just dragged, and copy and paste it to make a new layer. It will be automatically named “Layer 2”. We then click the eye icon on both Layer 1 and Layer 2, and make them invisible for now. We will need them both later.
Photoshop Quick Selection Tool
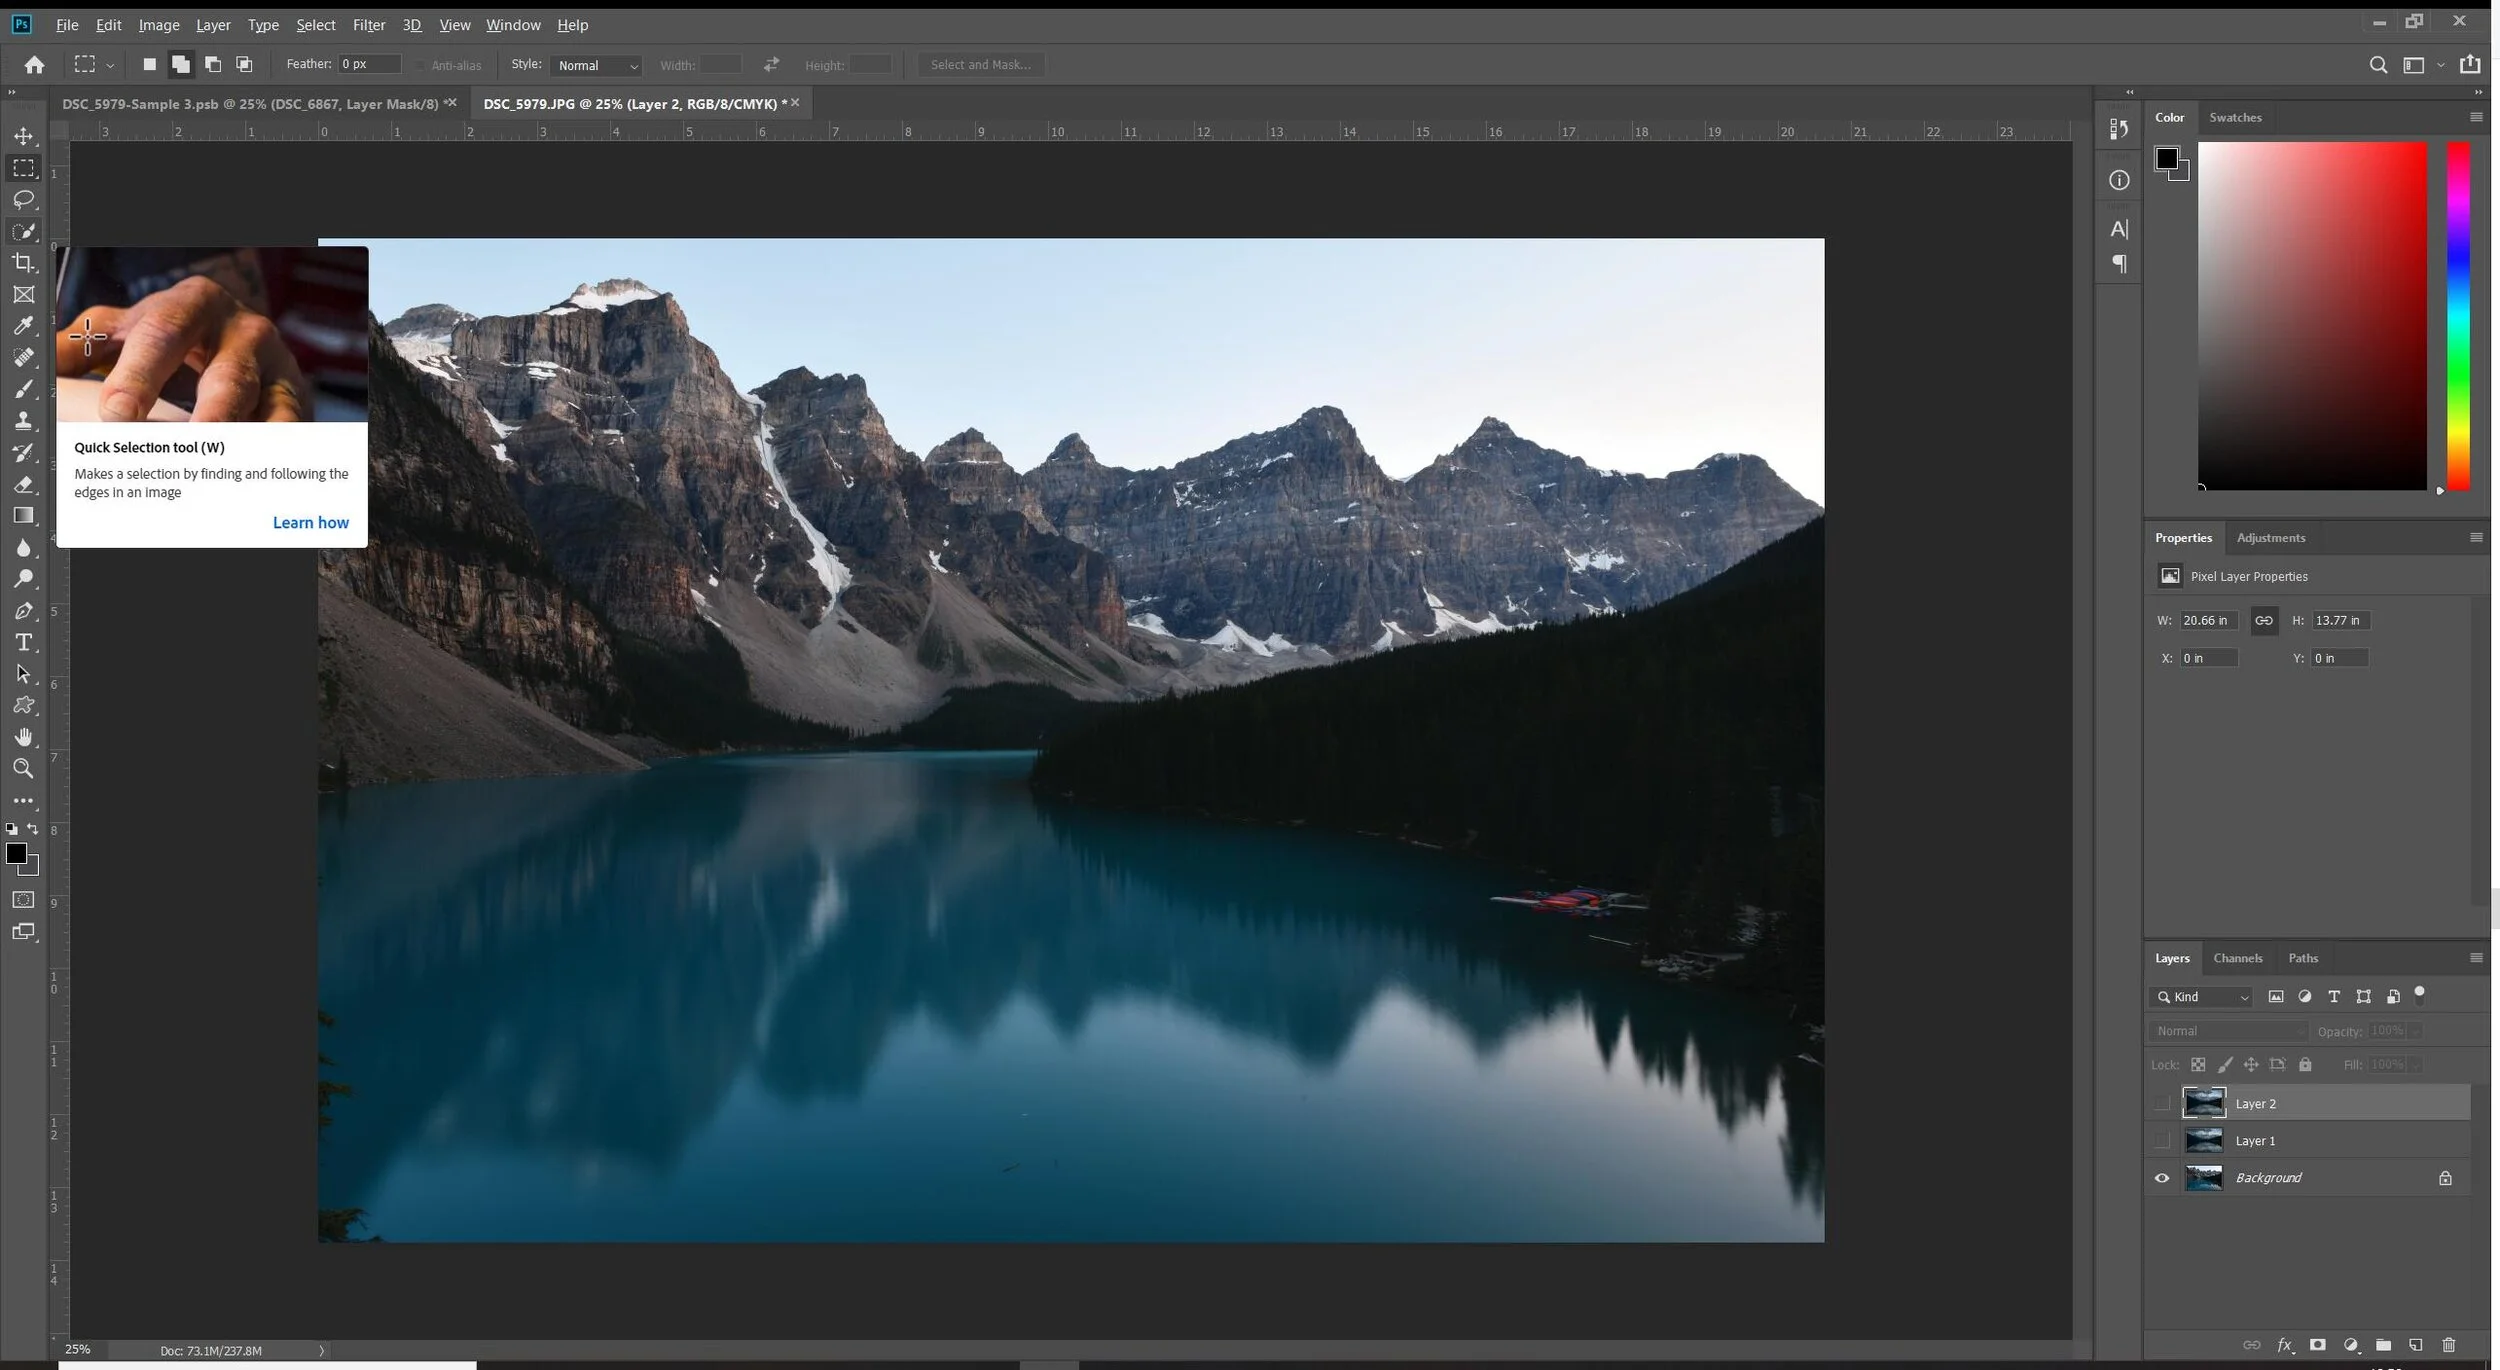
Select Background Layer. We are now ready for masking. We will need to select only the sky from the image for the mask. Select “Quick Selection Tool” on the side menu to your left. The “Quick Selection Tool” will allow Photoshop to smartly identify the colors in the photo and select the appropriate parts of the photo for you.

Add to Selection, Photoshop Quick Selection Tool
Simply move your mouse cursor to the empty space in the sky, then click and drag. The sky will be automatically selected. If you want to remove or add some part of the photo into your selection manually, you may use the “add to selection” and “remove from selection” options on your menu bar on the top left corner.

Photoshop Layer Mask
Now we finish isolating the sky, we can create a mask. Keep in mind that the existing selection will persist throughout all layers. However the selection will also only affect the selected area in that particular selected layer only. Therefore, you can move to one of the replacement layers without issue. Click the eye icon’s location for Layer 1 (The eye should appear if you click the empty box where the eye was located), then click Layer 1. We then go to the bottom right corner for masking. Click “Mask” while the selection is active to create a mask.

Photoshop After Layer Mask
Now your image should look like this above.

Photoshop Properties Panel

Photoshop Layer Mask
You may use the properties tab to adjust the blurriness of the edge of the selection. Simply slide the feather slider as you see fit. Do not adjust density. Additionally, You can use ‘Shift+Alt+Click” on the Layer Mask to see where the mask is applied (in red color).

Red viewing mode for layer mask
After switching to another viewing mode above, all the masked areas are clearly shown in red and the unmasked area shown in their original color.

Now we repeat the quick selection for both the sky and the lake and the forest.

But we use ‘right click’ and click ‘invert selection’ in order to select the mountain only. You can try to use quick selection to just isolate the mountain as well. There is not a set way to isolate an object in Photoshop.

Now the mountain should be selected.
We now use copy and paste to make a new layer that only includes the mountains. Keep only this layer visible. We now use “Ctrl+T” for Free Transform. We right-click and go for “Flip Vertically”. Then we drag the photo to the bottom to match the reflection in water.

It should look like this now. (Please ignore the additional layer in previous 2 screenshots, it should not matter here).

When we turn on the visibility of the background, we can see some mountains are covering part of the foreground. This is undesirable. We will need to adjust our mask accordingly so that the reflection does not not cover foreground.
We now click the mask window. (The black-and-white window at the bottom right corner next to the layer.) Now click the Brush tool on your left or use shortcut ‘B’. Remember to low the opacity of the new mountain layer so you can see part of the original background layer through the new layer. This will aid us in brushing off unwanted masks and adding masks. You can also use the “Shift+Alt+Click” to see the mask better.
Look to your left, make sure the color is black and white when you use the mask. Now look to your right, make sure you are selecting the mask and not the main image.
Keep in mind that white is for removing mask and black is adding mask. You can use ‘X’ key to quickly swap between the main color and secondary color. (Therefore swapping between black and white quickly by default).

Layer mask before painting with brush
Paint the area off by clicking and dragging. Right click while using Brush Tool will open the brush property window for quick adjustment.

Layer mask after painting with brush
Now - after painting the mask.

Photoshop Blue Filters
We can add the filter now. Go to your top bar menu -> Filter -> Blur. You will find two most useful blur filters here. “Gaussian Blur” and “Motion Blur”. We first need to use motion blur to simulate a long exposure.

Photoshop Motion Blur Panel
We observe the background image. We can correctly find the angle of wind and therefore simulate the angle here to achieve realism. We adjust the blur slider as we see fit, click OK. We should see our reflected mountains are “motion-blurred”.
After this is done, we use Gaussian Blur to add a layer of randomness so the blur looks natural. I use 6-12 for the radius. Hit OK when you are finished. Things should look more natural now.

Photoshop Feather Layer Mask
Now we can click on the mask for the reflection layer. We go to the property tab on the right. We can adjust the feather moderately to achieve a better, more realistic look. Notice the edge of selection is blurred in a gradient.
Now we simply adjust the Opacity and Fill slider for this layer. We should be done. I use 60% for Fill and 25-60% for Opacity. You may choose a number which you see as natural.

Full photo update
Above is the product after adjusting slider and turning the sky layer visible.

Close up of cloud layer mask
We use the exact same tactics for the reflection of the cloud. Simply crop, mask and feather. All done!
Then make all other layers visible. Everything related to edits and manipulation should be done!

Photoshop Spot Healing Brush tool
Now we will get into something related to removing unwanted objects in the photo. If we pay attention to the bottom-central part of the photo, you can see some floating branches. It could be a big deal for some people. But we can easily remove them using the Spot Healing Tool. Simply access it from the left menu bar. Simply use it like a brush and drag through the object as long as the brush covers the entire object. It will be automatically fixed.

Photoshop Cone Stamp tool
You can also use the Clone Stamp Tool for larger objects that cannot be fixed with Spot Healing Tool. It is essentially copying from a point of origin and apply the exact same color information at the point which you are brushing. You can use Alt key to set the point of origin, then you may move your cursor to the place where you plan to edit and begin brushing all the flaws away.

After using the Clone Stamp tool
Notice the tree branches on the left disappeared.

Final Edit
Finished product is shown above. This included all the edits mentioned above and a separate mask for the forest to the right to further darken the forest reflection. However it is not always necessary.
We can adjust the color saturation and hues as well as brightness and contrast for each layer independently to achieve the maximum effect for the natural and realistic look. Remember that details are the most important when you edit a photo. For example, it would be very unnatural to add a sunset background to a photo that was taken at noon. The foreground in the noon photo will have no shadow but only light casted from directly above while your background will suggest light casted from a low angle. This will result in an unnatural vibe. In this tutorial, both foreground and background are taken around the same time near evening, but a different date. Therefore they can be easily combined without much unnaturalness.
I hope you enjoyed the Adobe Photoshop Workshop. Be sure to try more Adobe Software for post processing your photo and explore the unlimited possibility. Thank you!
For all our club’s latest updates, please see our weekly announcements page here.