Thank you for all who came to our Adobe workshop on editing time-lapses using Lightroom Classic, LRTimelapse, and Premiere Pro sponsored by the good folks from Adobe. We hope that you enjoyed it and learned about how to edit time-lapses. Also, I hope you guys liked all the Adobe freebies. If you missed the meeting or want to review, here is everything we talked about.
Hi, it is Nathaniel writing here. Above is a slow-motion and time-lapse video that I showed at the end of the meeting which I have been working on for the last 2 years about my home state, California. All of the post-processing techniques that I walked through in the meeting, I also used in that video too. I hope that this inspires you to go out and start creating some time-lapses of your own.
To start off, time-lapse photography is playing back individual photos taken over a course of time played back at a faster than real life speed. Although you can take video footage and speed it up to create a time-lapse sequence, you will want to set up your camera to take individual raw photos using an intervalometer in order to get the highest quality time-lapse. Typically, I set up my camera using Aperture priority mode at the base ISO so that the camera will automatically change the shutter speed to the changing conditions during the time-lapse. If you are doing a night time-lapse, you should probably use Manual mode though. No matter how you shoot your time-lapse, you most likely will end up with some variances in exposure throughout your time-lapse. So, the goal of editing time-lapses is not only to efficiently edit your photos, but also to remove any flickering so your time-lapse looks as smooth as possible.
Creating keyframes in LRTimelapse
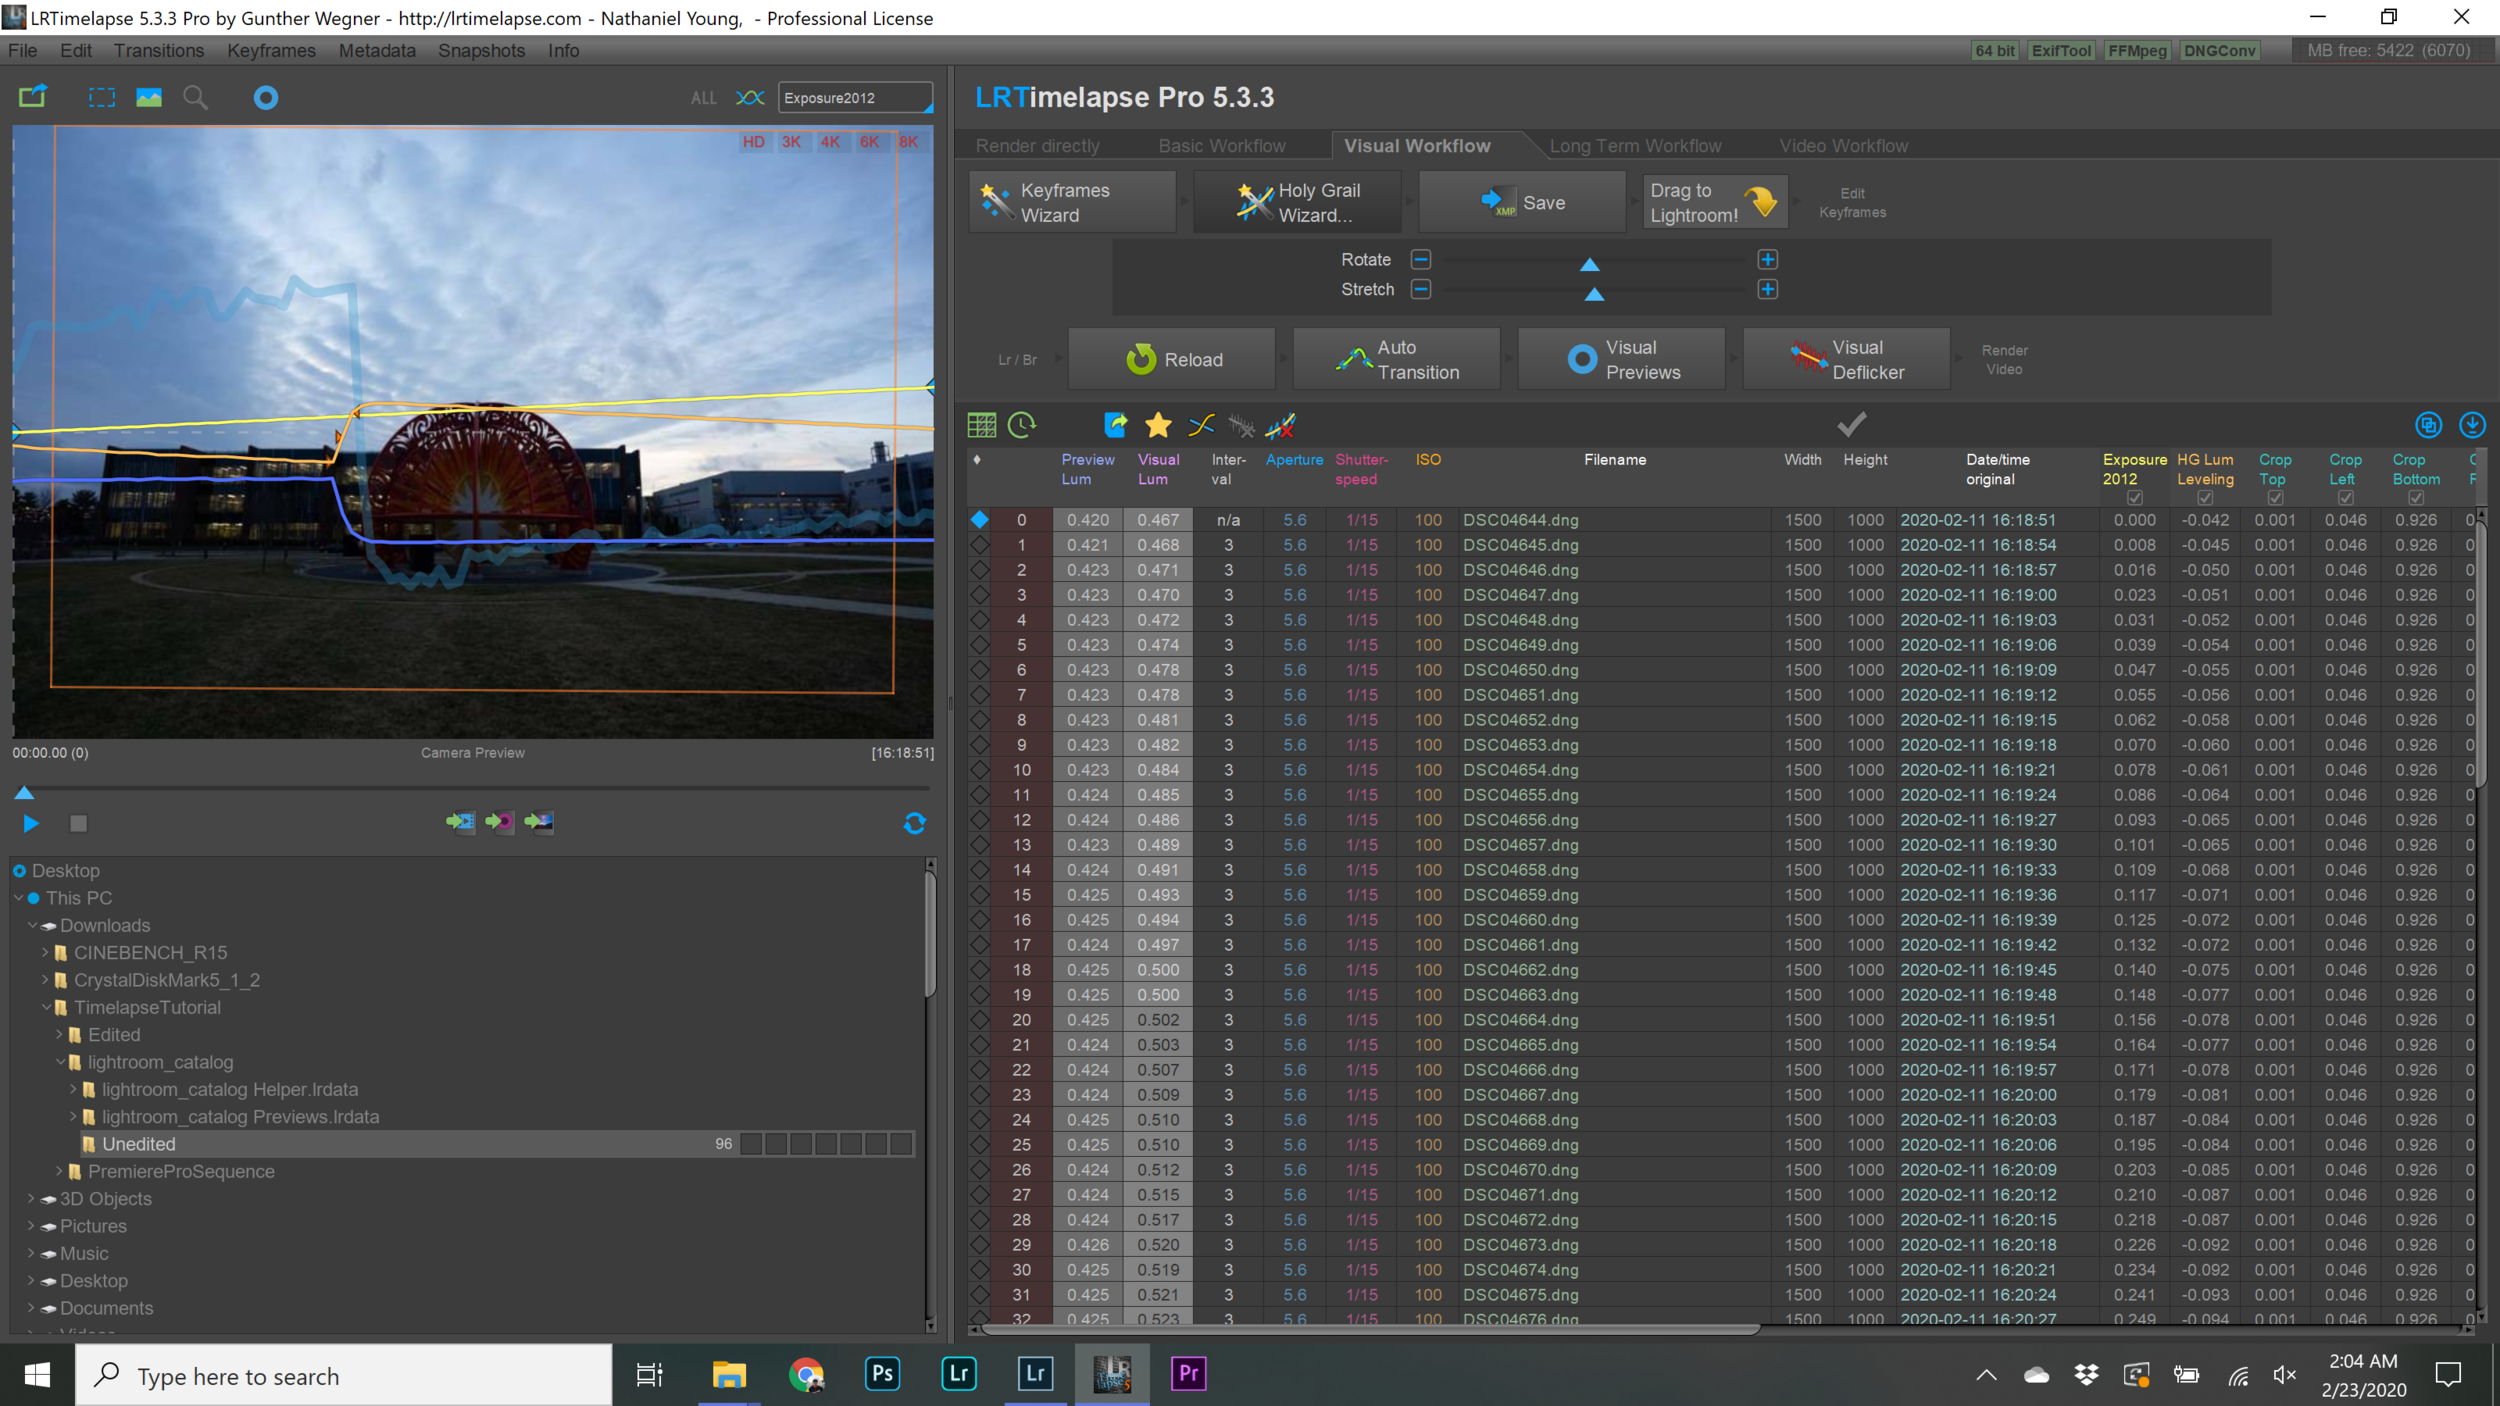
After you import your time-lapse sequence into Lightroom Classic, want to open LRTimelapse and find the same directory from which you imported the photos into Lightroom Classic. After you click the on the folder, you will see all the photos in that directory load on the right panel. And the preview of your time-lapse is on the left side. In the screenshot above, you can see the blue line is the luminance value of the time-lapse sequence. The luminance value basically means the brightness; so, a higher luminance value equates to a brighter image. I shot this time-lapse using Aperture priority mode, but part way through I changed my exposure compensation to make sure I did not clip (or blow out) any of the highlights along the horizon. That is why where is a dip in the luminance value in the middle of my time-lapse. You can hit the space bar to play the time-lapse to see what it looks like before we start editing it. To start off, we want to create some keyframes to tell Lightroom which photos that we want to edit. Then, we will use LRTimelapse to automatically edit the rest of the photos between. To create the keyframes, click the “Keyframes Wizard” button and drag the slider until you have the appropriate number of keyframes that you want. Since this is a pretty simple time-lapse sequence, I will just choose two – one both the first and last frame. You can see which photos are your keyframes by the blue diamond on the preview as well as the list section. Since we also have a big exposure change that we want to smooth out, we are going to click “Force Holy Grail Keyframes”. If you are taking your photos in Aperture priority mode and don’t change the exposure midway through like I did, then you don’t need to do this step.
Setting up Holy Grail Wizard in LRTimelapse
Next, we are going to click the Holy Grail Wizard button, and LRTimelapse will automatically calculate the orange line seen in the preview which is how it will change the exposure to make the time-lapse nice and smooth. Again, this is only needed if you are using the Holy Grail Keyframes.
Then, we are going to like the big “Save” button to save the metadata so that Lightroom Classic can read the changes that we made.
Read Metadata from Files in Lightroom Classic
Now switching over to Lightroom Classic, we are going to select all the photos in the folder (CTRL + A or CMD + A on a mac). Then, right click and select “Read Metadata from Files” under the menu of “Metadata”.
Filter to show keyframes in Lightroom Classic
In order to see the keyframes that we made in LRTimelapse, go to filter and select “01 LRTS Keyframes”. If you do not have this option, you can always filter by “Rated” and select 4 stars. Before we start editing, we want to go down to the “Lens Corrections” tab (make sure you are in the “Develop” module) and check the “Enable Profile Corrections”. This remove any natural lens vignetting and correct any distortion.
Transform tab in Lightroom Classic
The next thing we want to do for this particular time-lapse is straighten out some of the vertical lines of the buildings so that they are perpendicular to the horizon and parallel to each other. This was naturally created since I had my camera slightly tilted upwards to capture more of the sky in the frame rather than the foreground. To do this, you can go to the “Transform” tab and slide the “Vertical” slider to the left. Then, you will want to check the box below called “Constrain Crop” to remove the white borders around the edge of the frame.
Auto straighten the horizon with the crop tool in Lightroom Classic
Now is also a good time to straighten the horizon. Go up to the top and click on the crop tool. You can drag the angle slider until you are happy with it or you can just click the “Auto” button to automatically straighten your horizon. As for cropping, I typically would recommend against cropping a photo in Lightroom Classic for time-lapse photography because you may want to use the addition data to do a digital pan or zoom in Premiere Pro.
To start out editing the photo, you should start first with the “Basic” tab. If your photo is looking too blue or too yellow, you can change the temperature slider. And likewise, if your photo is looking too green or magenta, then you tint slider. Next, you can adjust the overall brightness of the photo using the exposure slider. Then for a landscape/cityscape like photo with good amount of dynamic range like the one we have here, we generally bringing down the highlights and bringing up the shadows to increase the amount of detail that we can see. By doing this, you will also create a lower contrast photo. In order to bring back some of that contrast, we can push the whites to the right and the blacks to the left just before they clip. You can look at the histogram to see how it changes with regards to those sliders. Also if you hold ALT/OPT while you use those sliders, it will tell you when the values clip (meaning when the become purely white and purely black).
Selecting color profile in Lightroom Classic
Now that we have the basic exposure corrected. We can start adjusting the color. To start, you can go through the different color profiles and select one that gives you a good starting point. For this one, I selected the “Adobe Landscape” one which gives a little more vibrancy and contrast than the standard profile. Next, we can adjust the vibrance and saturation sliders. The difference between the vibrance and saturation sliders is that the vibrance adjusts the saturation (or intensity) of the less saturated colors in the image. Whereas the saturation slider adjusts the saturation of all of the colors in the image. For a photo like this, I am going to bring both of them to the right a little bit.
Using the Tone Curve in Lightroom Classic
Next, we can adjust the contrast in the image. You can do this with the contrast slider; however, if you want more control over how the contrast is applied to your image, you should use the “Tone Curve” and more specially the “Point Curve”. To create contrast in an image with the “Point Curve”, you can create an S like curve as shown in the above screenshot.
The HSL sliders in Lightroom Classic
Another thing help adjust the colors individually is the HSL sliders. Hue allows you to adjust the colors. Saturation allows you adjust the saturation. And luminance allows you to adjust the brightness. In the photo above, I adjusted the luminance of the red, orange, and yellow colors to brighten up the colors in the center of the frame. One thing to keep in mind is that typically for time-lapses, you do not want to do too many local adjustments as it can introduce more flicker.
Synchronize Settings in Lightroom Classic
Before we go back to LRTimelapse, we have to edit the other keyframe as well. After highlighting all your keyframes, you can click the “Sync” button in the bottom right corner. Then in the dialog box, click the “Check All” button. Then, unselect the “White Balance” and “Exposure” boxes. This is because we want to keep the same consistent look through out the time-lapse sequence. However, as the light changes especially as the sun is rising or setting, then your color temperature will change over time. Also, our overall exposure might be different which is why we do not need to check the “Exposure” box.
Second keyframe underexposued in Lightroom Classic
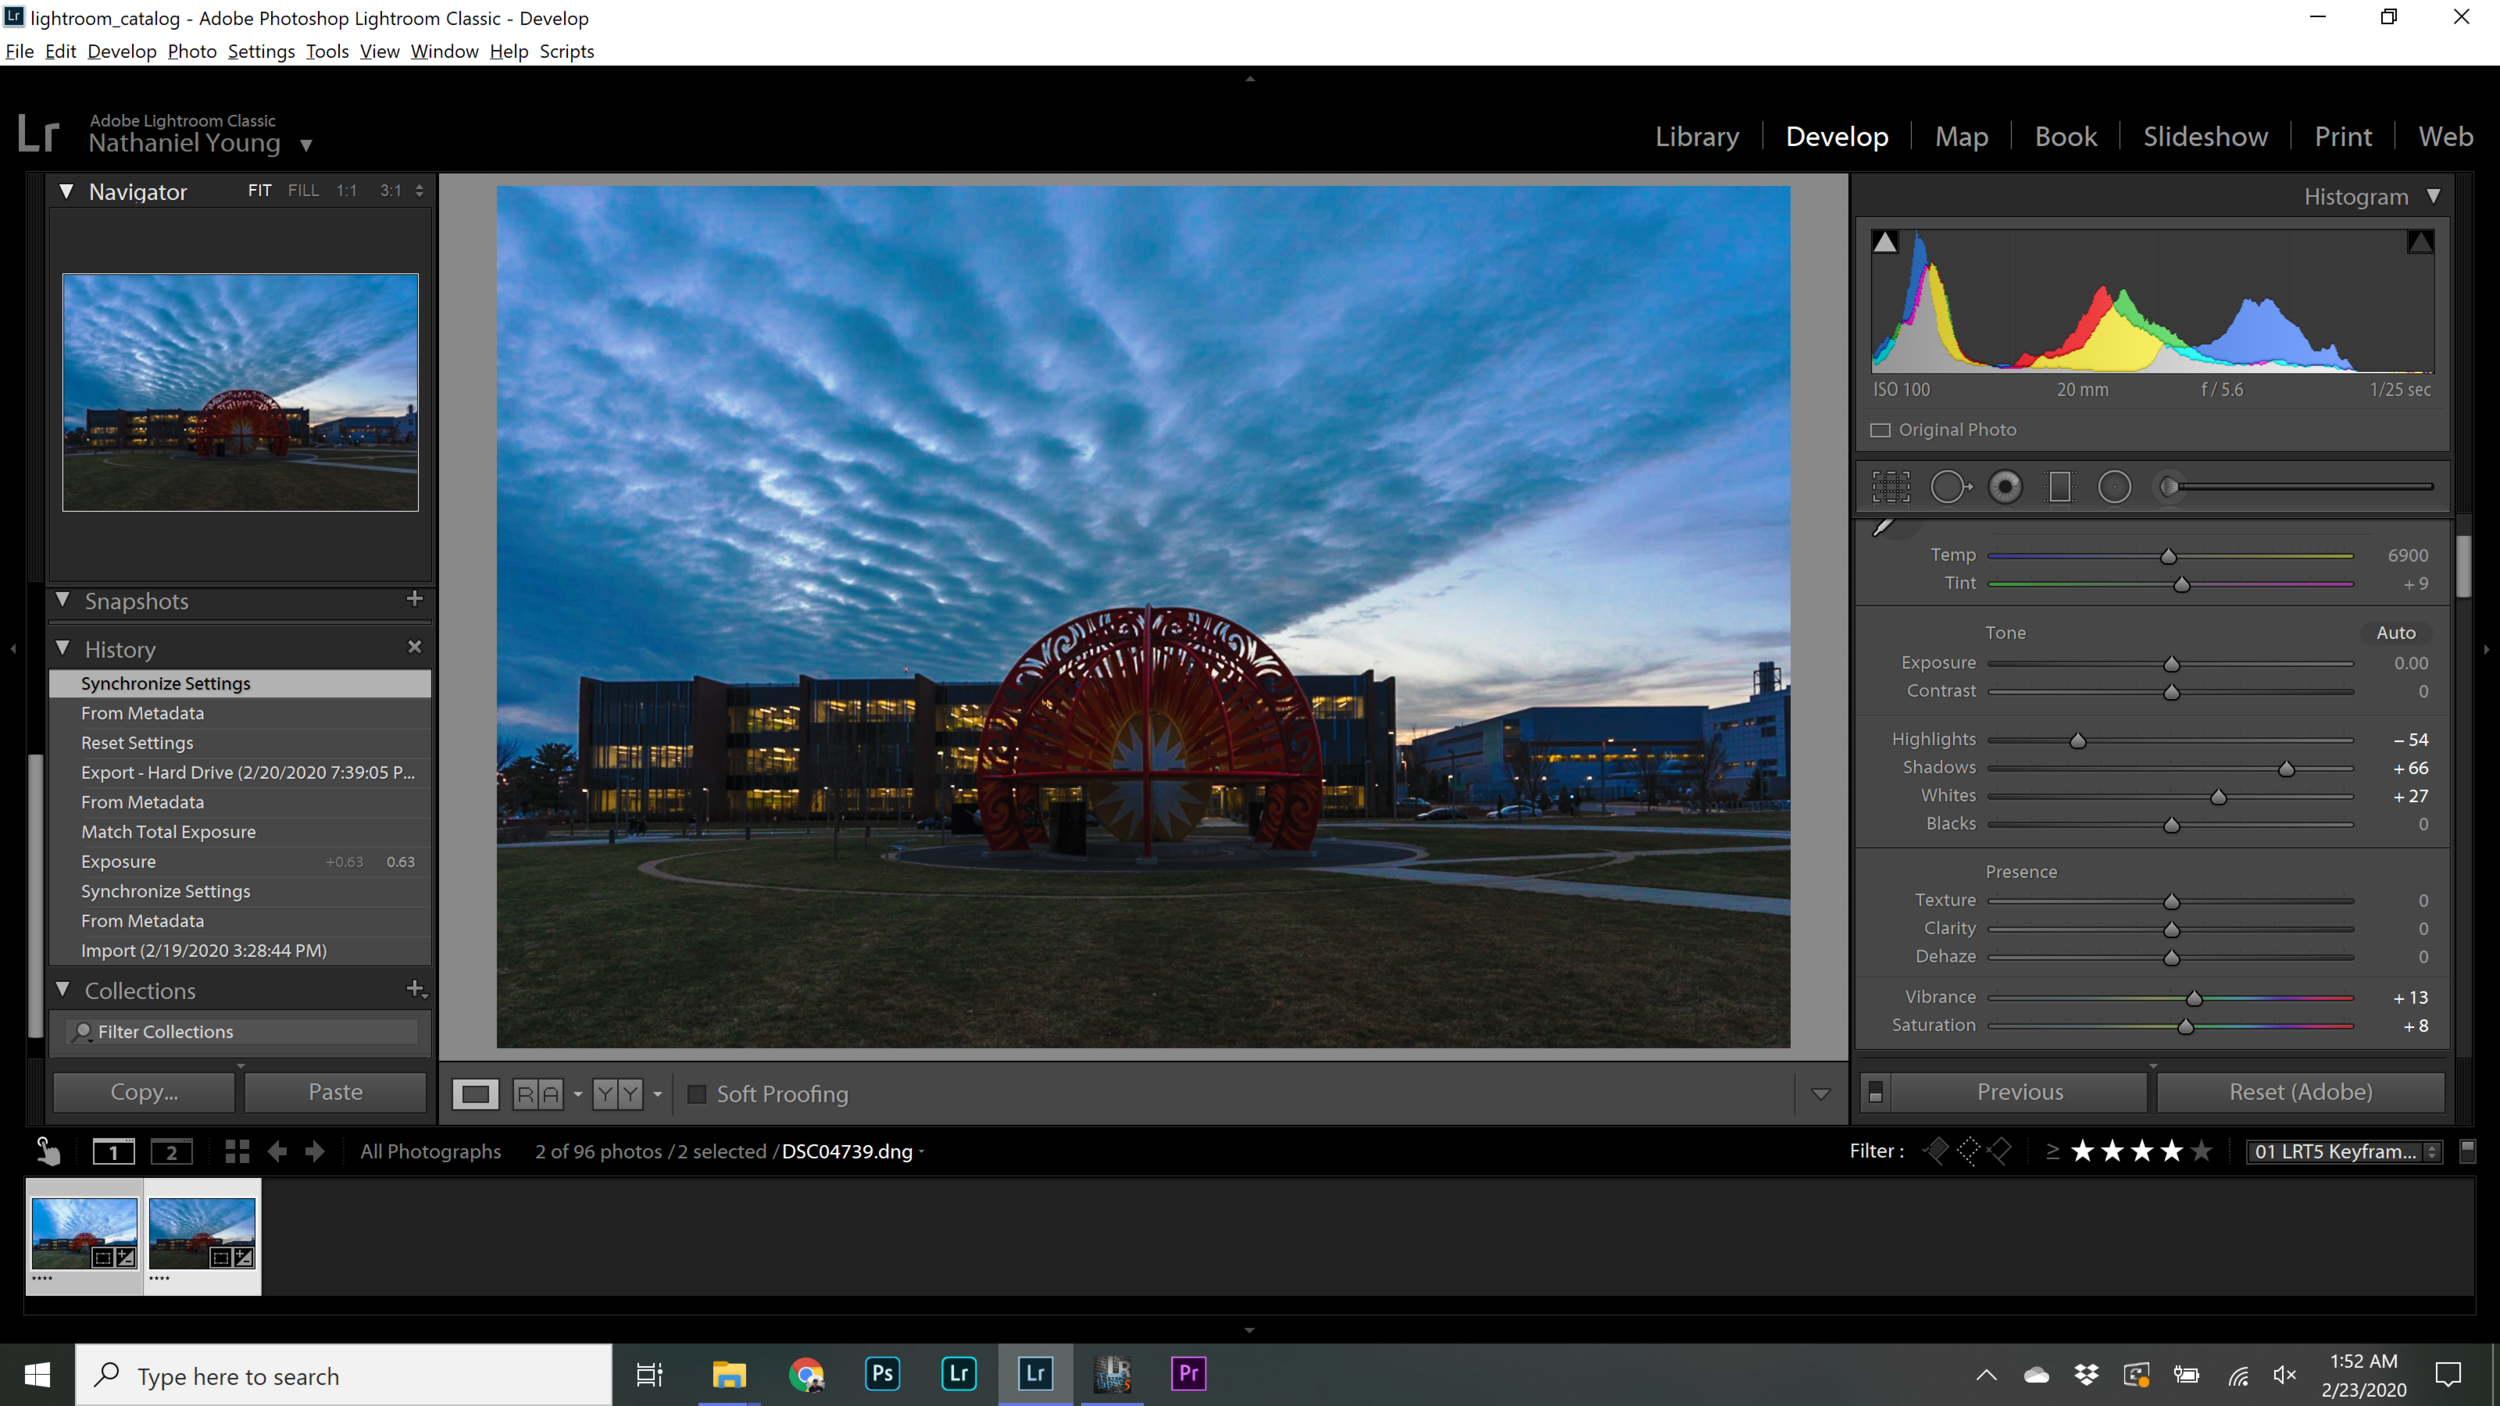
In this case, our second keyframe needs to have its overall exposure adjusted to match the first keyframe. In order to do this, we can simply drag the exposure slider to the right until it matches. This is not a very good way of doing it because we as humans are not perfect.
Match total exposures in Lightroom Classic
Instead, we can have Lightroom Classic automatically do it for us by highlighting both photos and selecting the first photo that we want the overall exposure to be matched to. Then, click on “Match Total Exposures” under the “Settings” tab at the top of the screen. Now that we are done with our editing in Lightroom Classic, we can right click (while all the keyframes are still highlighted) on a photo and click on “Save Metadata from File” under the “Metadata menu just like the same way we read the metadata.
Visual Previews in LRTimelapse
Now switching back to LRTimelapse, we can click the big “Reload” button to read the metadata from Lightroom Classic. Then, click the big “Auto Transition” button which will automatically calculate the values to edit the photos between the keyframes. Then, click the big “Visual Previews” button to see the preview of the edits across all of the photos. Once the green bar is fully solid at the bottom of the preview window, then the visual previews are fully created. You can now hit the space bar to watch the time-lapse back with the edits. You will notice that the pink line is the new luminance values of the edited time-lapse. In this case, we have a pink line that increases over time, but that is not what we want.
Holy Grail Wizard Rotate in LRTimelapse
So, click on the bit “Holy Grail Wizard” button. We are going to drag the “Rotate” slider to the left which will bring up the exposure in the beginning and bring down the exposure at the end which should make our luminance values the same throughout our whole time-lapse. Then, click the big “Visual Previews” button again to reload the edited previews. You do not need to hit the “Save” button again after changing the rotate slider in the Holy Grail Wizard section because the “Save” button is only for the keyframes.
Deflicker in LRTimelapse
Lastly, we are going to click on the big “Visual Deflicker” button to deflicker our time-lapse. The smoothing slider is the number of surrounding frames that it analyzes to deflicker from. You can drag this slider left and right to see the green line change in the preview. When you are happy with how the green line looks like, you can click “Apply” (or “Refine” if you are doing it a second or any subsequent time after the first). Then, we can go back into Lightroom Classic and turn off the filters. After highlighting all of the photos, we can read the metadata (the same way in the previous time) to update all the edits across all of the photos. Then, we can export all of the photos (while all are still highlighted) by right clicking on a photo and export. I typically export my photos for time-lapses at the best JPG quality with the sRGB color space.
Echo effect in Premiere Pro
One last effect that you can apply to your time-lapses to make them a little better is the “echo” effect. This allows you to create the illusion of a longer exposure which can help smooth out some of the choopiness in your time-lapse especially if the interval between your photos was too long. In this scenario, it basically got rid of all the people and cars moving through the time-lapse. Change the echo operator to “Composite in Back” and then, it will blend the past frames with the current frame. The number of echos is the number of frames back that it will blend. And the Decay value is the opacity that it decreases by. So .80 means that every frame is .8 times the opacity of the previous frame. The echo effect (with the “Maximum” as the operator) is the one I used for the star trails time-lapse in my video above. And if you want to see the final time-lapse that we worked on together, see it here.
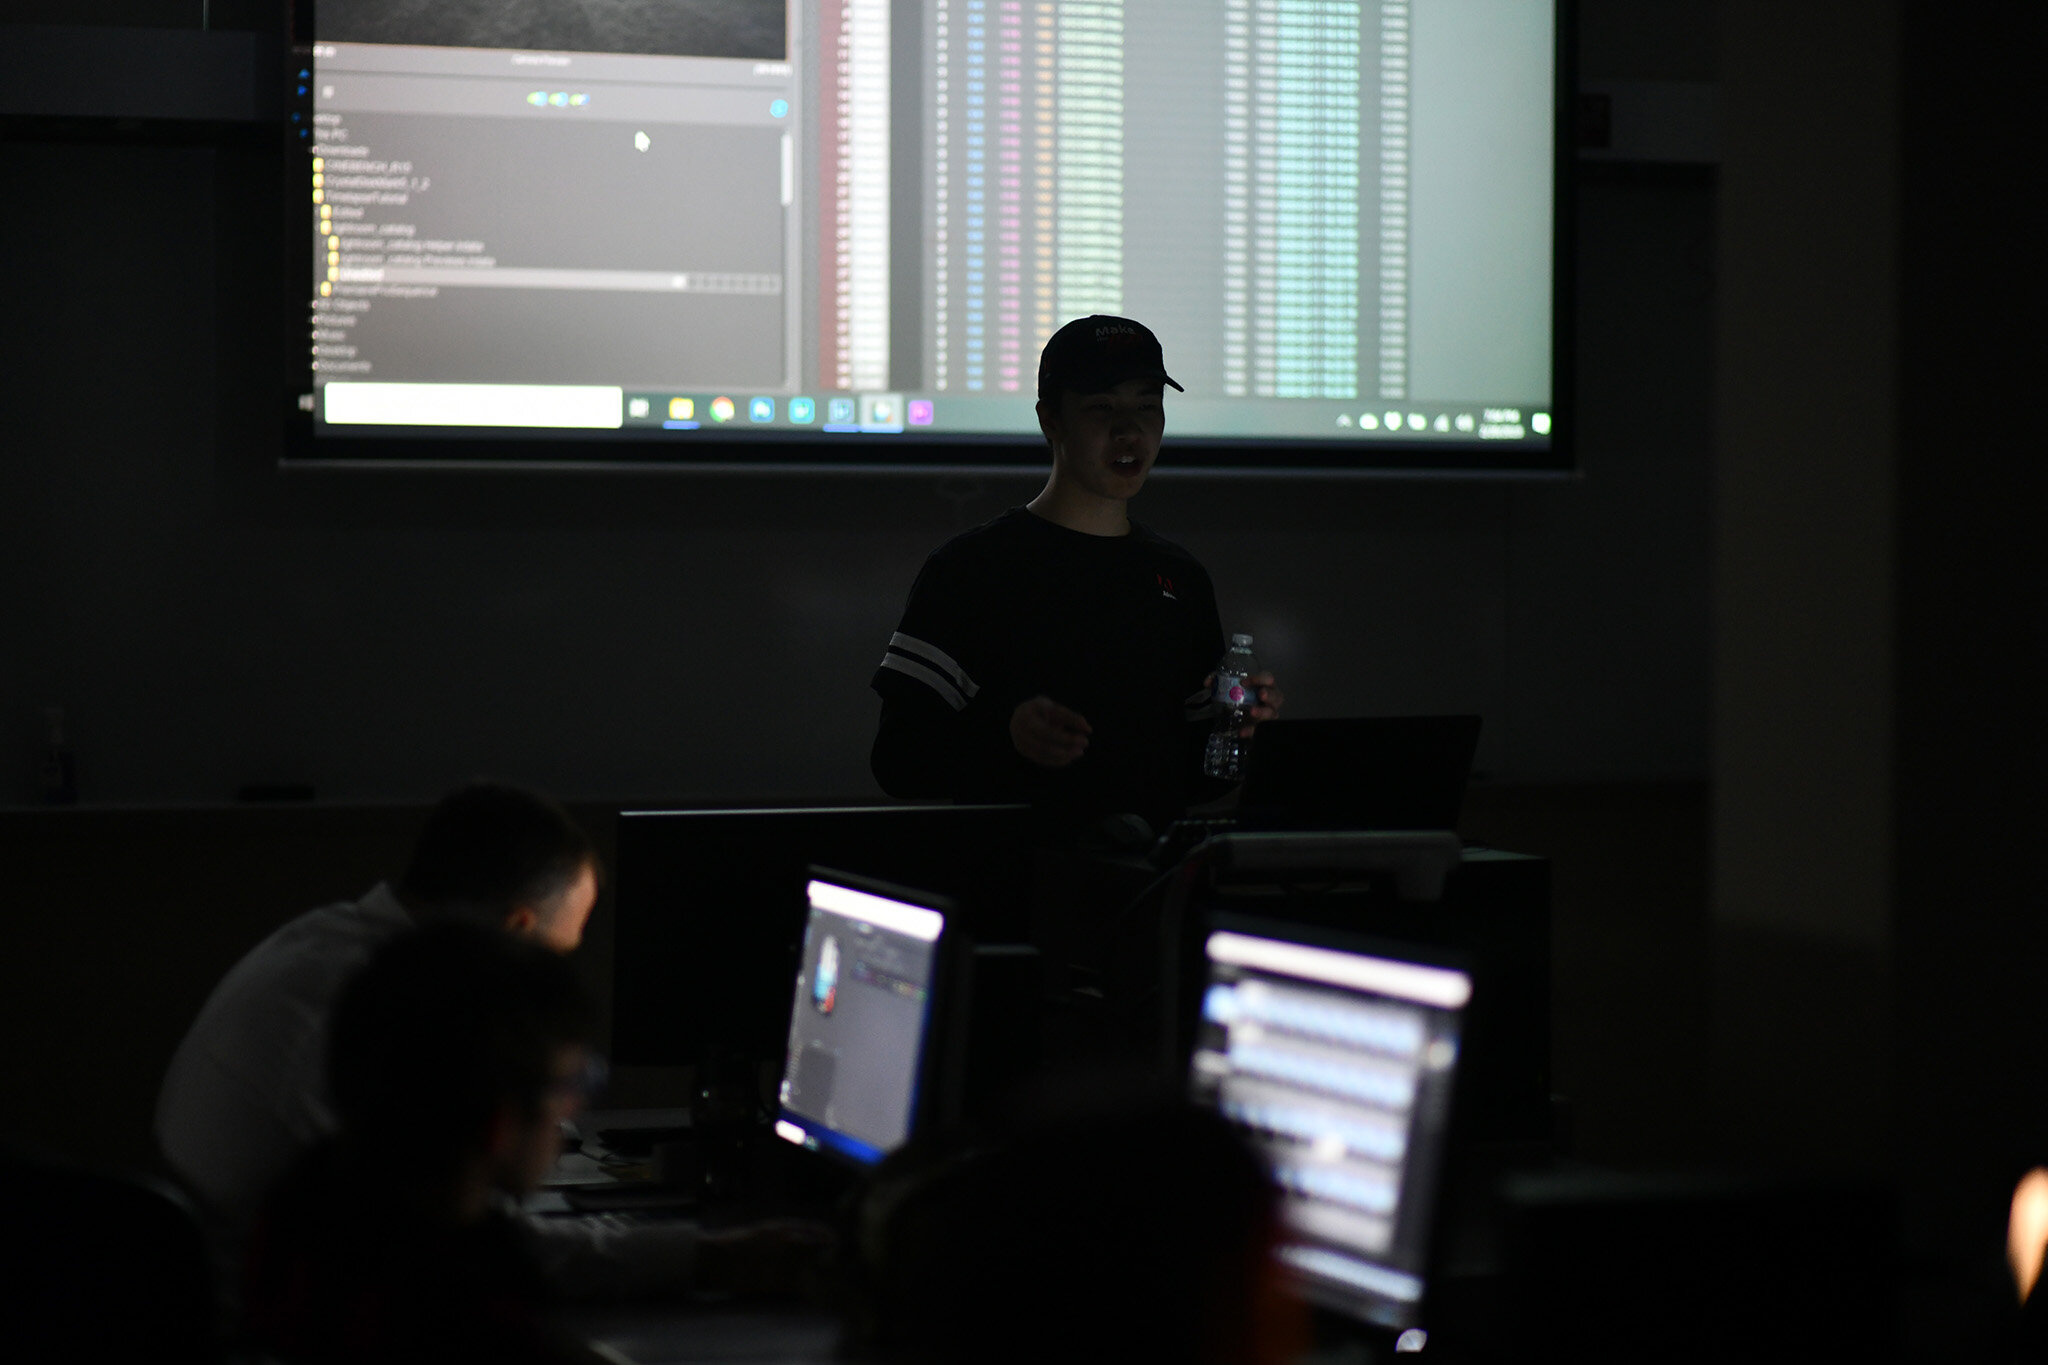
Also, thanks to Sid for taking these photos from our meeting.
For all our club’s latest updates, please see our weekly announcements page here.


